In my area of the world, one word describes our weather... HOT! So this is a perfect time to think of cooler weather and a few Christmas projects. Christmas in July events are found everywhere. Some of my favorites are on shopping channels, Etsy, and in Blogland. I have the month of July off each year and it affords me the opportunity to pre-plan. Do I need to donate gently used decorations to Goodwill? Is there anything I need to put on my early Christmas "to do" list? And even more importantly, is there a way to simplify the hectic holidays so that I spend more time reflecting on the true gift of Christmas?
 I decided to focus on a few projects which might give me a head start on my Christmas happies. I will share several projects with you during what I am calling Jolly July! Let's start with a simple project. I like the word "simple"! This would make a cute, inexpensive personalized teacher gift for Christmas. I plan to make one for my niece to coordinate with her new bedroom colors!
We have had an ugly mouse pad for as long as I can remember. Yes, I like using a mouse! I thought of buying a new pad when this idea came to me. It took all of 15 minutes to complete this project! All you need are a few simple supplies. The most difficult task is to decide which fabric to use. Pictured are fat quarters I picked up at Walmart for less than a dollar each. I selected a leftover remnant of upholstery fabric. If the thicker fabric worked out, I would have a mouse that coordinated with the nearby bar stools! Let's get started...
Supplies:
Mouse pad
Fabric of your choice (Pictured are Fat Quarters)
Pencil
Heat n Bond (I used ultrahold)
Scissors
Iron
Stop Fraying Adhesive

 The directions are a breeze! Start out by tracing the mouse pad to the back of the fabric and cut.
 Next, trace the mouse pad to the Heat n Bond and cut out the shape.
 Following the directions on the Heat n Bond, iron the product to the top of the mouse pad. After cooling, slowly peel the paper section of the Heat n Bond from the mouse pad. I like the shiny look it gave my old mouse pad! Excuse the blurry picture, but I only took one.
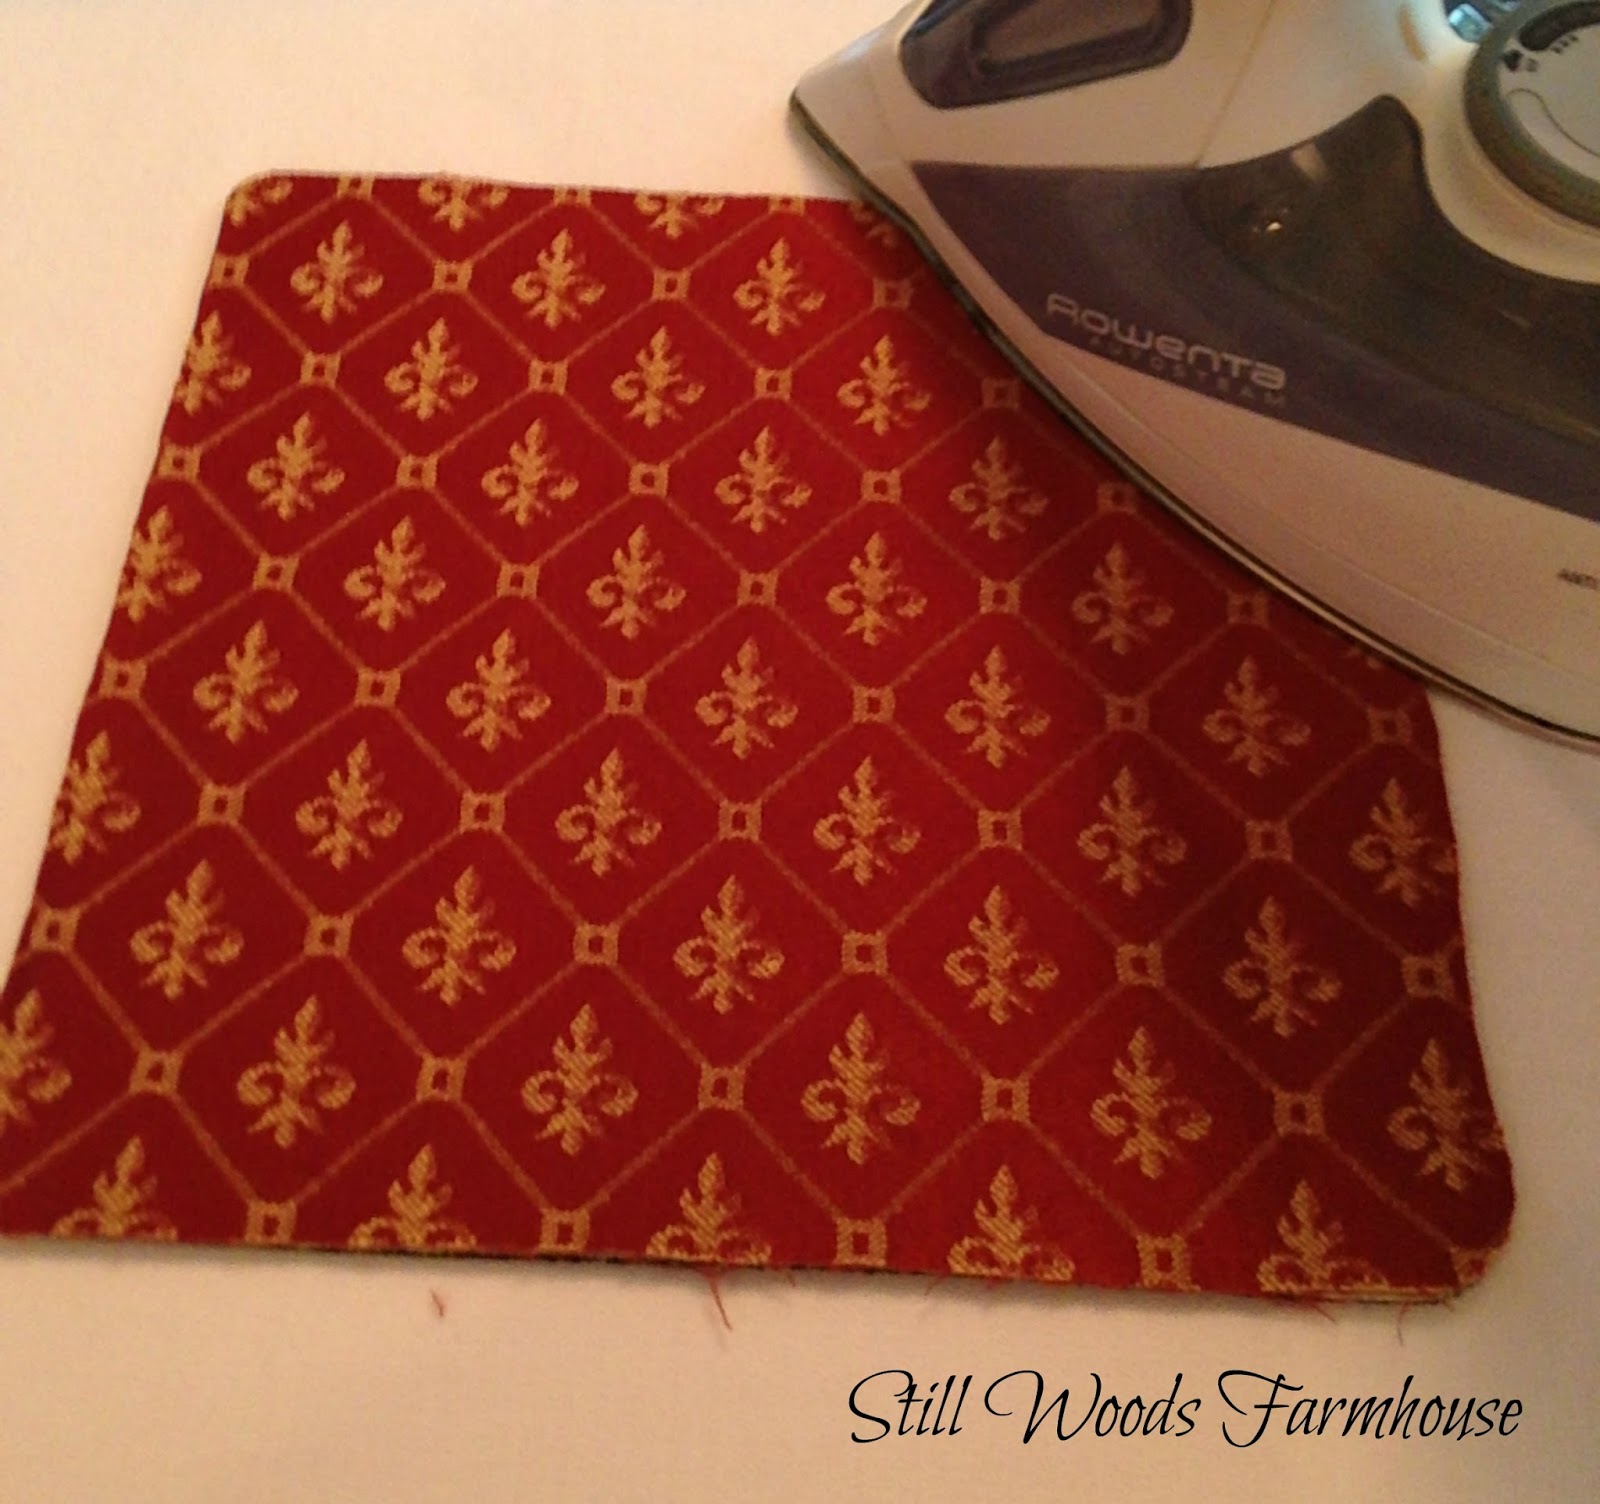
 Next, position the fabric on the mouse pad and iron the fabric in place.
 Allow pad to cool. After cooling, trim any extra stray edges you see. Apply the Stop Fraying product according the bottle directions. Wa-lah! Your mouse pad is now ready for use! How is easy is that?


We have had an ugly mouse pad for as long as I can remember. Yes, I like using a mouse! I thought of buying a new pad when this idea came to me. It took all of 15 minutes to complete this project! All you need are a few simple supplies. The most difficult task is to decide which fabric to use. Pictured are fat quarters I picked up at Walmart for less than a dollar each. I selected a leftover remnant of upholstery fabric. If the thicker fabric worked out, I would have a mouse that coordinated with the nearby bar stools! Let's get started...
Supplies:
Mouse pad
Fabric of your choice (Pictured are Fat Quarters)
Pencil
Heat n Bond (I used ultrahold)
Scissors
Iron
Stop Fraying Adhesive


Have a Jolly July everyone! Blessings from Lynda at Still Woods Farmhouse
Sharing with this terrific blogs.
Show and Share
Home and Garden Thursday at http://blissfulrhythm.blogspot.com/
From My Porch to Yours: Treasure Hunt Thursdays
Simply Sweet Fridays at http://rootedinthyme.blogspot.com/
Fridays at Imparting Grace at http://www.impartinggrace.com/
Sunday at It’s Overflowing at http://www.itsoverflowing.com/
Hi Lynda! This is a terrific idea and one I will definitely be tryin. Thanks for the inspiration! Jane
ReplyDeleteThanks Jane. It's very easy and took longer to write about it than to complete the project. Have a Wonderful Wednesday!
DeleteBlessings from Lynda at Still Woods Farmhouse